Getting Started
This walkthrough mounts a CHD image with the GUI.
1. Install the prerequisites
Install the .NET 10 Desktop Runtime and the driver for your bundle (Dokan or WinFsp). See Installation.
2. Run CHDMounter
Extract the release bundle and double-click CHDMounter.exe.
3. Select a CHD file
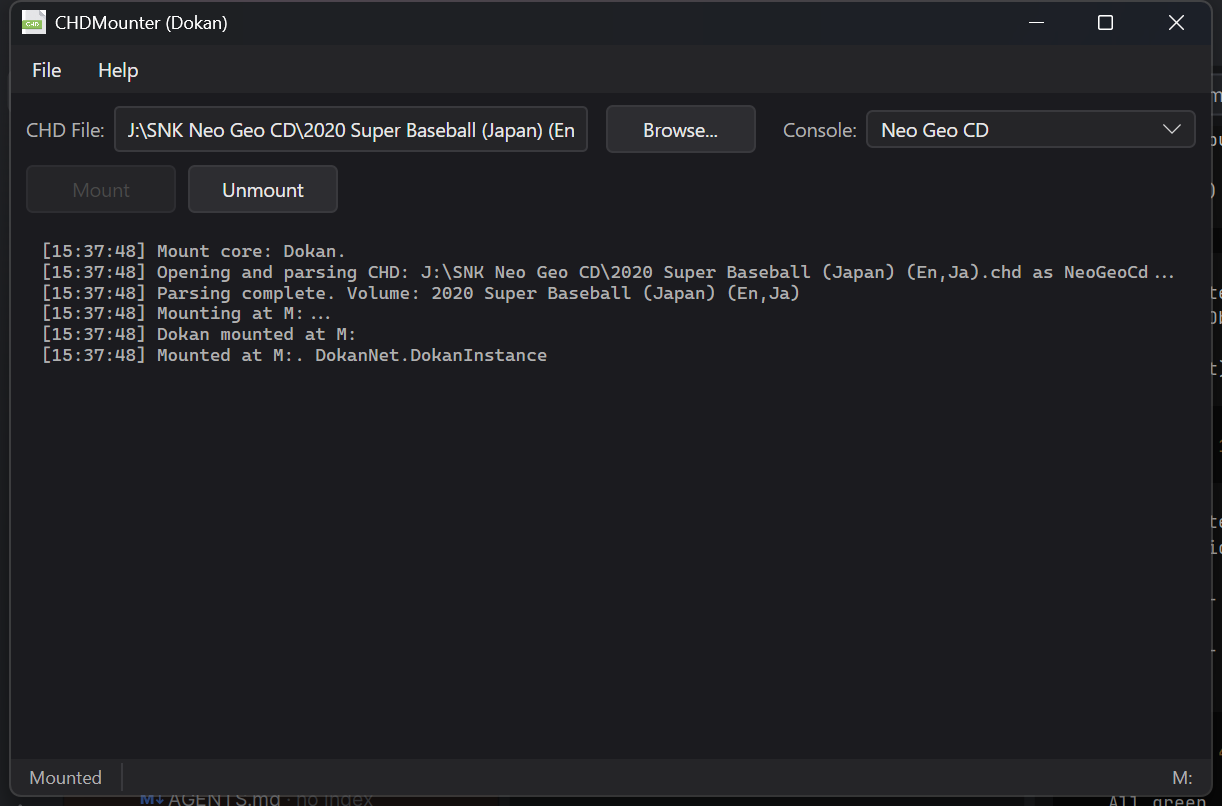
Click Browse, select a .chd file, and CHDMounter will suggest a filesystem type.
4. Pick the console/format type
Choose the matching entry from the dropdown, or type an alias such as ps2 in the command line
when using the CLI. If you are not sure, start with iso9660 or psauto for PlayStation discs.
See Console Types for the full list.
5. Mount
Click Mount. On success the drive letter appears in the status area and in File Explorer. The volume is mounted read-only; your CHD file is never modified.
6. Unmount
Click Unmount (or close the application) to remove the virtual drive.
Next steps
- Use the command line to mount from scripts or frontends.
- Learn how virtual CUE/BIN/ISO/WAV export works in How It Works.
- Having trouble? See Troubleshooting.